10 things you should know before baking polymer clay

Most people, especially beginners are intimidated about baking their polymer clay sculptures. They want the best final result after all that hard work they have done to make their masterpieces.
If you are one of these people then worry not because here a few important things we would like our readers to know before they put their polymer clay sculptures into the oven for baking.

To perfectly bake polymer clay, the right temperature and the length of time is really important. Some people are afraid they will burn clay and therefore under bake it. Some overbake and that just messes up their project.
Here are 10 important things to know before baking polymer clay:
- It would be better to not use the same oven for food. You can, but it is not recommended. Food oven should only be used for baking food because if the polymer clay is burnt, it produces strong and unpleasant fumes.
- You only have to keep an eye on 3 important things while baking: time, temperature, and baking surface.
- Make sure there are no air bubbles in the clay before putting it in the oven. Once baked, these air bubbles are very tricky to fix. Therefore it is necessary to condition polymer clay well.
- The next step is to know your oven. If you have an over thermometer, then the baking process will become a lot easier. Place the thermometer on the center rack and preheat the oven.
The general Malaysia Clay Art Polymer Clay’s recommended temperature is between 120°C - 140°C. The baking time for ¼ inch thickness is usually between 15-30 minutes. Note: always read the package instructions to find out the right temperature recommended by your clay’s brand.
- While your oven is getting preheated, gather all the necessary tools and materials. You will require a baking sheet, parchment paper, and aluminum foil.
- Do not use a microwave oven to bake polymer clay. They do not provide the right heating environment and it can lead to burning your sculpture.

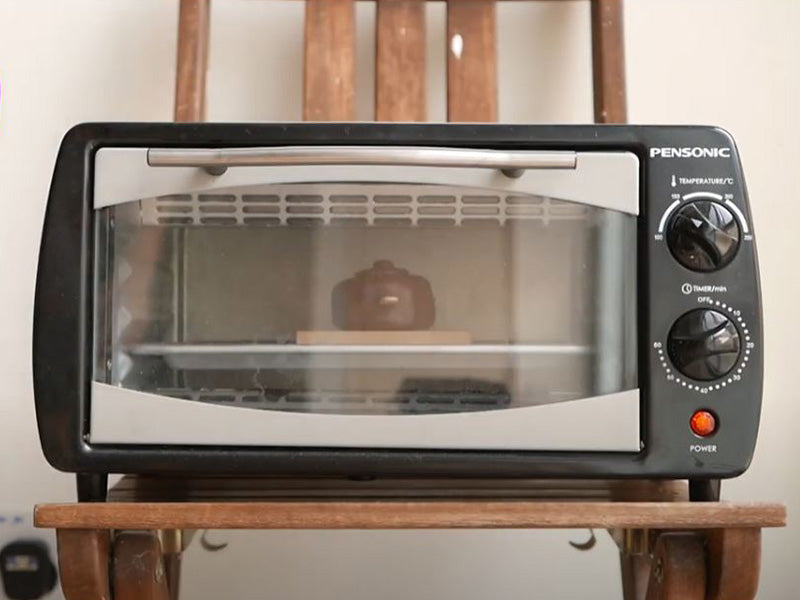
Alternatively, you can also bake it in a toaster oven, but you will need to be extra careful because the clay model might be too close to the walls and heating elements of the toaster.
Convection oven is a great option for baking polymer clay. They have fans inside which circulate and evenly distribute heat. They work exactly like a regular oven.
- Once preheated, check the temperature of the oven with the thermometer. Then take the baking sheet and line it with parchment paper. Gently place the polymer clay sculpture on it and cover it with some aluminum foil.
- Bake it on the recommended temperature and time. Make sure that the sculpture is placed in the center which will ensure good air circulation and even distribution of heat.
- You can bake your polymer clay sculpture more than once. Bake it as many times as you want to achieve complete cure.
- So, how will you know that the clay is baked? It is going to be slightly soft. To achieve complete hardness, it needs to be cooled down. A properly baked polymer clay piece will be a bit pliable. If the sculpture breaks or crumbles, it means it isn’t properly baked and wasn’t allowed to sit in the oven for longer time. Our oven-bake polymer clay is manufactured with the finest quality and is therefore slightly bendable after baking.
Here are some tips and hacks which will help you in baking polymer clay the right way:
- Translucent polymer clay is very prone to turning brown. This does not mean that it is burned, but it’s frustrating. The best way to protect it from turning brown is to maintain the temperature of the oven.
- Alternatively, some clayers bury their sculptures in baking soda or salt and then bake it to prevent the clay from browning. Take an oven-safe bowl, fill it with baking soda or salt, dig a hole and place the clay sculpture in it.
- Also, you can always cover the clay pieces with aluminum foil.
- If you will bake polymer clay on a shiny surface, you might later find some shiny spots on it. To prevent this, place a parchment paper between the surface and the clay. It will stop your clay from getting those shiny spots.
- If the clay piece breaks, crumbles or snaps after baking, it just simply means that it was under baked. Put it back in the oven and again bake it at the recommended temperature.
- You may notice cracks and plaques in your polymer clay after curing it. Plaques are basically whitish areas which appear in the clay pieces. They look like air bubbles. They are believed to appear when placed close to heating elements. Therefore, make sure your polymer clay piece is placed at the center and is equidistant from walls and heating elements.
- If your clay is burned, unfortunately there is no way you can salvage it. Turn off the oven and open up the windows. Always maintain the temperature and keep an eye on the oven thermometer.
- People who live at high altitude think that the baking time and temperature needs to be adjusted. This is not true for clay as it does not contain water content like food does and therefore the difference in air pressure at high altitudes does not make any difference.
- Baking round polymer clay beads is frustrating as they keep rolling over. To prevent that, take a piece of blank paper, fold it and place the beads inside the fold. This will stop them from rolling over. Note: don’t leave your clay piece on the paper for long before putting it in the oven. It can lead to excessive amounts of plasticizer leached out of clay which is kind of oily to touch which can subsequently weaken the piece.
- To achieve the perfectly baked piece of polymer clay, you can make use of file folders and aluminum lid. Simply place file folders on the baking tray. It they don’t fit, trim them with scissors accordingly. This will insulate the polymer clay piece from the bottom and prevent it from scorching. Place the piece on the file folders and cover it with an aluminum lid. In this way your polymer clay piece will not get burned, but will get adequate amount of heat from the bottom and top.
Leave a comment
Comments will be approved before showing up.
Also in Let's Get Creative


Join Our WhatsApp Channel!
Subscribe now to get the latest updates on sales, promotions, new releases, and FREE tutorials!
**Get an exclusive discount on your first purchase when you join!**